The Dream Begins: From Sailboat Restoration to Family Cruising
Follow our family's adventures as we restore an old sailboat, learn to sail and expand our cruising horizons each day!
Sailing!
Our first sail on our "new to us" boat was short but ever so sweet!�
�
We tried our sails and running rigging at the slip before departing for the lake.� Everything seemed like it was working as it should, so we shoved off for Lake Michigan.� Once reaching the big lake, we motored out about a half mile before shutting down the outboard and preparing to hoist�the sails.� Erin took the helm as I scurried about the deck and cockpit setting the sails and sheets.� Once the jib went up, we were off!� The conditions were light (wind to 10 knots from the North), but we made headway and enjoyed every minute of the first sail.� We practiced making a couple of tacks and alternated between beam and broach reaching.
�
On the way in we encountered engine problems, as the pull cord for our outboard broke, the choke stuck open and caused the engine to run poorly and to top it all off, it wouldn't stay in gear!� Luckily we had my mom and dad nearby with the mothership (their Carver motoryacht) for assistance if we needed it.� Erin and I both were nervous bringing the boat back to the marina and slip while dealing with a motor that kept stalling, but we did so without incident.� Erin worked the tiller like�an experienced helmsman!
�
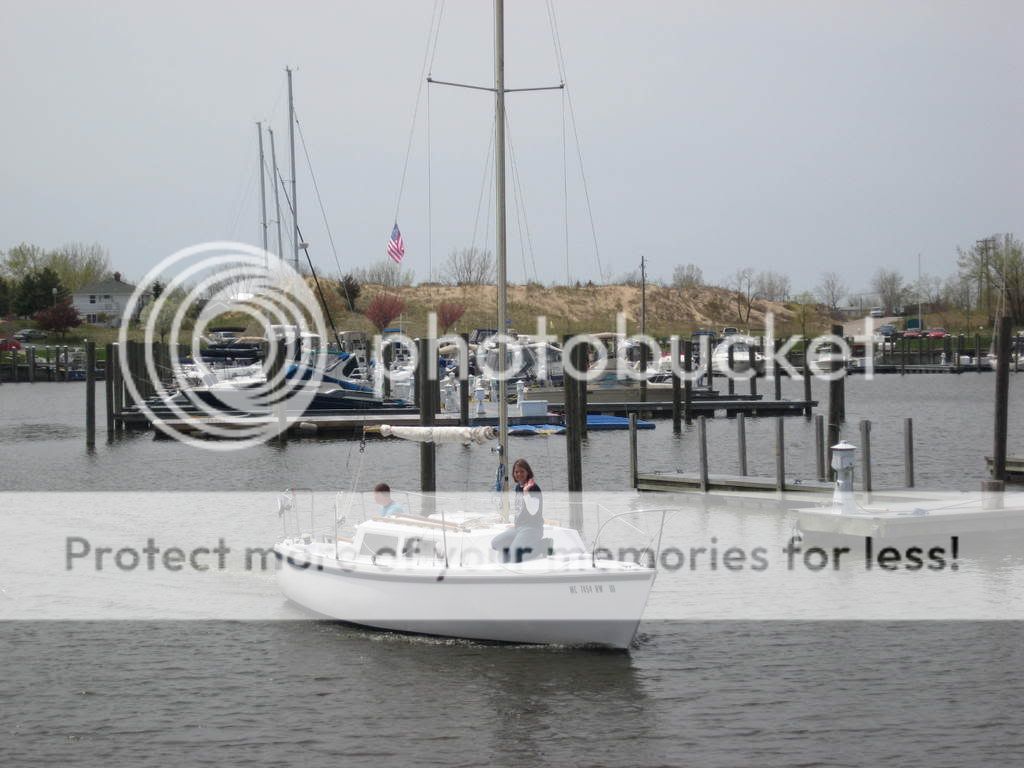
Here are a few pictures from the outing taken from the "Mothership".
�
Motoring out of the marina:
�
�
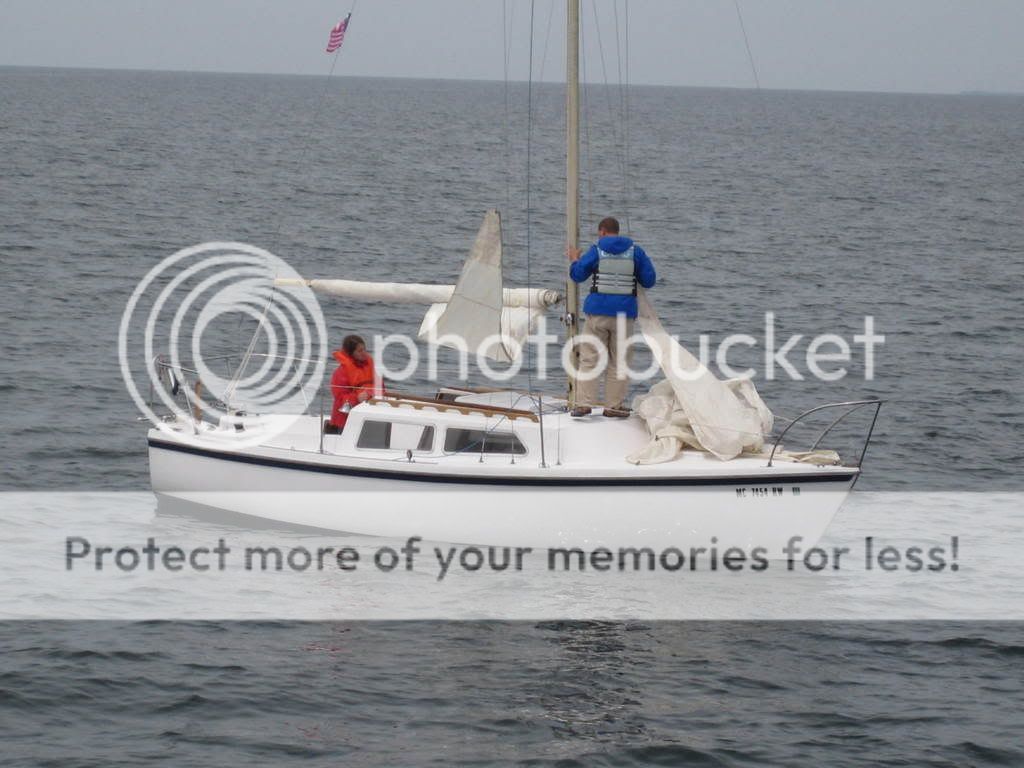
Readying the sails:
�
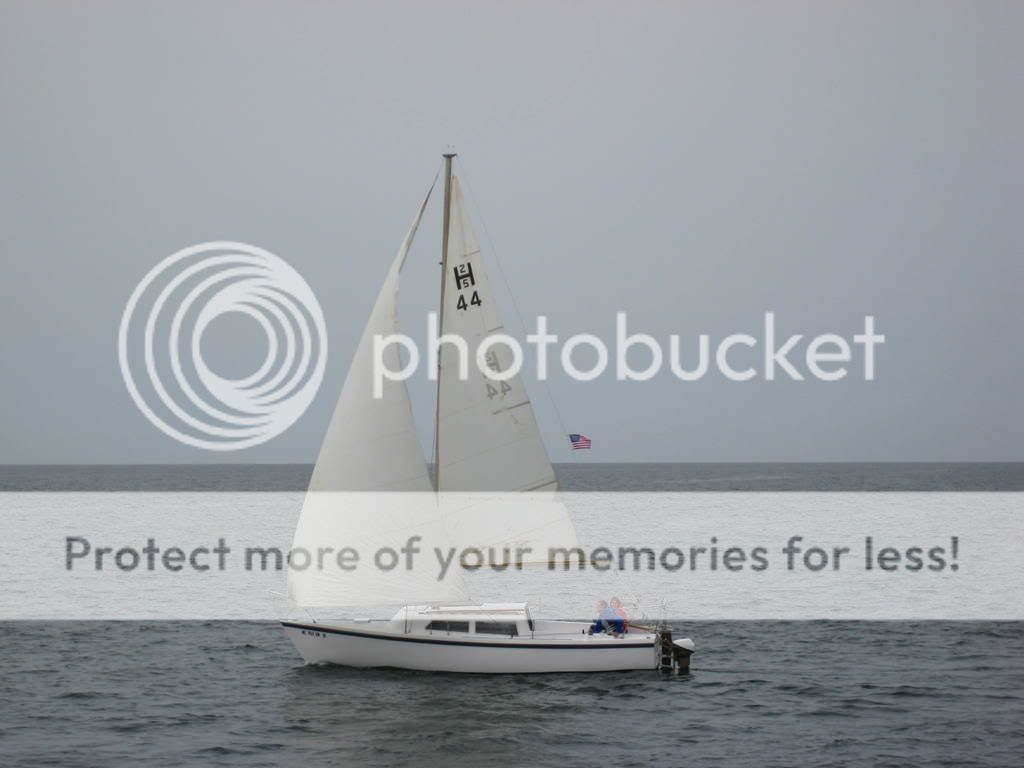
Sailing!:
�
| Vessel Name: | Island Bound |
| Vessel Make/Model: | Irwin 28 MkIV |
| Hailing Port: | North Shore Marina, Grand Haven, MI |
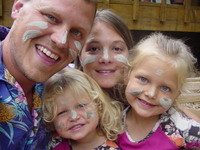
| Crew: | Kevin (Captain), Erin (Admiral), Hannah (First Mate), Isabel (Deck Hand) |
| About: | Kevin: Age 34 Erin: Age 33 Hannah: Age 7 Isabel: Age 4 |
| Extra: | Follow our family's adventures as we restore an old sailboat, learn to sail and expand our cruising horizons each day! Someday in the not too distant future we intend to cast off the docklines for a VERY long time. Then we'll go where the wind blows... |
The Dream Begins: From Sailboat Restoration to Family Cruising