Life aboard in the NE And the work continues!
Now living aboard full time while I make repairs, refits, getting her ready for the long cruise.
09 December 2013 | Piers Marina Philadelphia
09 December 2013 | Piers Marina
25 November 2013 | Piers marina
22 November 2013 | Piers Marina Philadelphia
26 August 2013 | PIERS MARINA - PHILADELPHIA
05 August 2013 | PIERS MARINA - PHILADELPHIA
19 June 2013 | always Riverside, NJ
16 June 2013 | Riverside, NJ
15 June 2013 | Still in Riverside, Nj
29 May 2013
18 May 2013 | Corsica River
22 February 2013
18 February 2013
11 February 2013 | Same!
05 February 2013 | Riverside, NJ
14 November 2012 | Still at Riverside NJ
16 October 2012 | Horta - Azores
04 October 2012 | Riverside NJ
02 October 2012 | Riverside NJ
24 September 2012 | Riverside, NJ
Winter approaching- the rush begins.
04 October 2012 | Riverside NJ
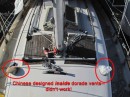
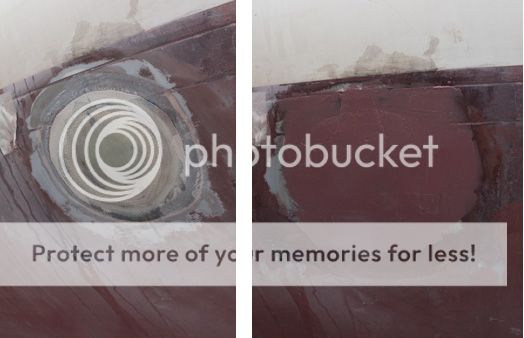
With summer being over I have plenty to keep me occupied this winter working on the inside of the boat so the rush is now on to finish any projects on the hull. One of my major undertakings has been eliminate some of my thru-hulls, and move some others. I had 4 thru-hulls to remove, grind and faired down, then the holes can be filled with multiple layups of epoxy and fiberglass cloth. They need to be properly glass so that there will be no chance of sinking.
First thing to do is remove the physical thru hull, it’s in 2 parts the actual thru-hull and a seacock. Seacock was easily removed inside the boat but the thru-hull was nicely bedded in the hull. Thankfully there’s a great tool called a step wrench, found one at Hamilton Marine which is becoming my favorite marine store.
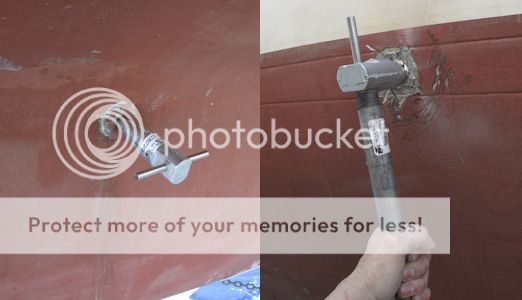
Two came easily but the remaining 2 I had to take a grinder to them and cut them out.
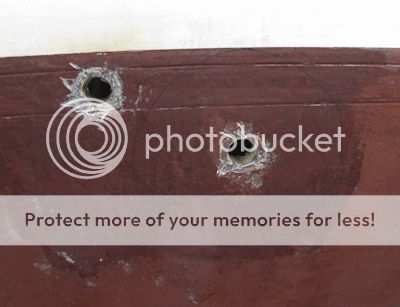
Then I grinded down the hull with a ratio of 8:1, some people advocate 12:1 but I feel that 8 is fine.
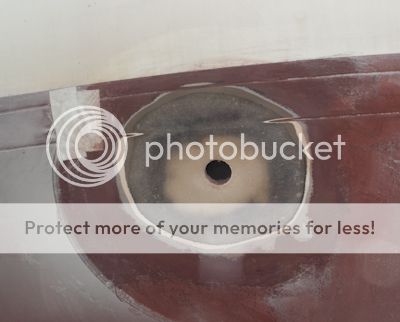
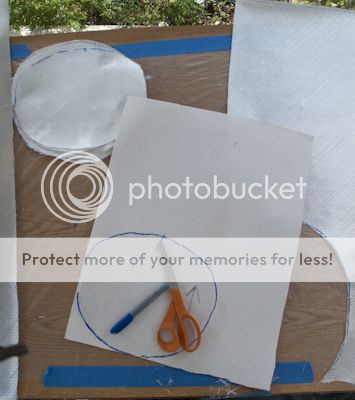
Placed a transparent film over the area and marked the perimeter of the repair. This will be the largest piece of cloth I will cut out.
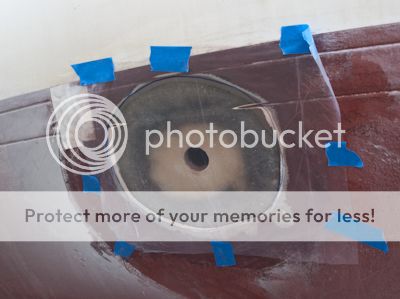
Proceeded to cut out pieces of fiberglass cloth each one getting progressively small until I reached the finally shape of the actually hole, about 25-30 layers, I lost count. I also used different thickness and types of cloth and varied the direction of the weave- gives the repair added strength.
After all the cloth was cut out, I used epoxy and layered them all together starting with the largest going down to the smallest. Sorry no pictures as I was working alone on this project. Transferred the epoxy resined cloth to a plastic carrier and then applied it to the repair area.
Once that cured – took a day, I sanded the area down and then filled and faired it twice with a mixture of epoxy and 407 fairing filler. I’ll let this cure till next spring when I’ll then apply a barrier coat over the areas that will be underwater and gel coat above the water.
First thing to do is remove the physical thru hull, it’s in 2 parts the actual thru-hull and a seacock. Seacock was easily removed inside the boat but the thru-hull was nicely bedded in the hull. Thankfully there’s a great tool called a step wrench, found one at Hamilton Marine which is becoming my favorite marine store.

Two came easily but the remaining 2 I had to take a grinder to them and cut them out.

Then I grinded down the hull with a ratio of 8:1, some people advocate 12:1 but I feel that 8 is fine.

Placed a transparent film over the area and marked the perimeter of the repair. This will be the largest piece of cloth I will cut out.

Proceeded to cut out pieces of fiberglass cloth each one getting progressively small until I reached the finally shape of the actually hole, about 25-30 layers, I lost count. I also used different thickness and types of cloth and varied the direction of the weave- gives the repair added strength.

After all the cloth was cut out, I used epoxy and layered them all together starting with the largest going down to the smallest. Sorry no pictures as I was working alone on this project. Transferred the epoxy resined cloth to a plastic carrier and then applied it to the repair area.
Once that cured – took a day, I sanded the area down and then filled and faired it twice with a mixture of epoxy and 407 fairing filler. I’ll let this cure till next spring when I’ll then apply a barrier coat over the areas that will be underwater and gel coat above the water.

Comments
| Vessel Name: | Kodachrome |
| Vessel Make/Model: | Nassau 34 |
| Crew: | Roland |
Kodachrome's Photos - Main
 |
 |
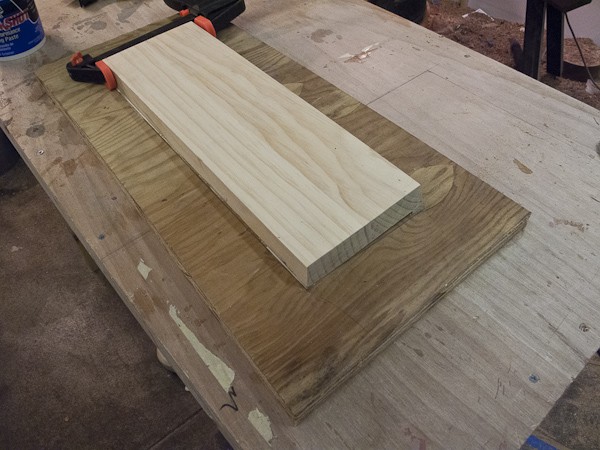 |
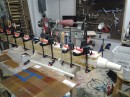
Photos of the process of making my molded instrument panel for the cockpit
9 Photos
Created 22 February 2013
|
 |
 |
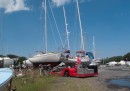
From Rock Hall to Riverside our late fall trip
16 Photos
Created 7 November 2011
|

Who: Roland
Gallery