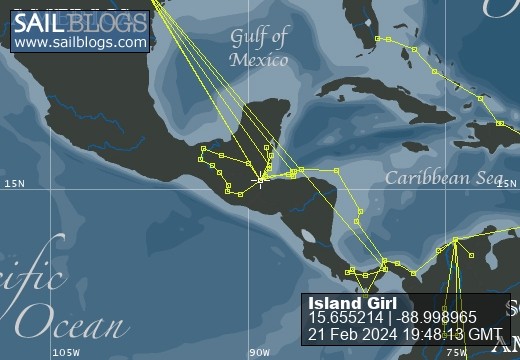
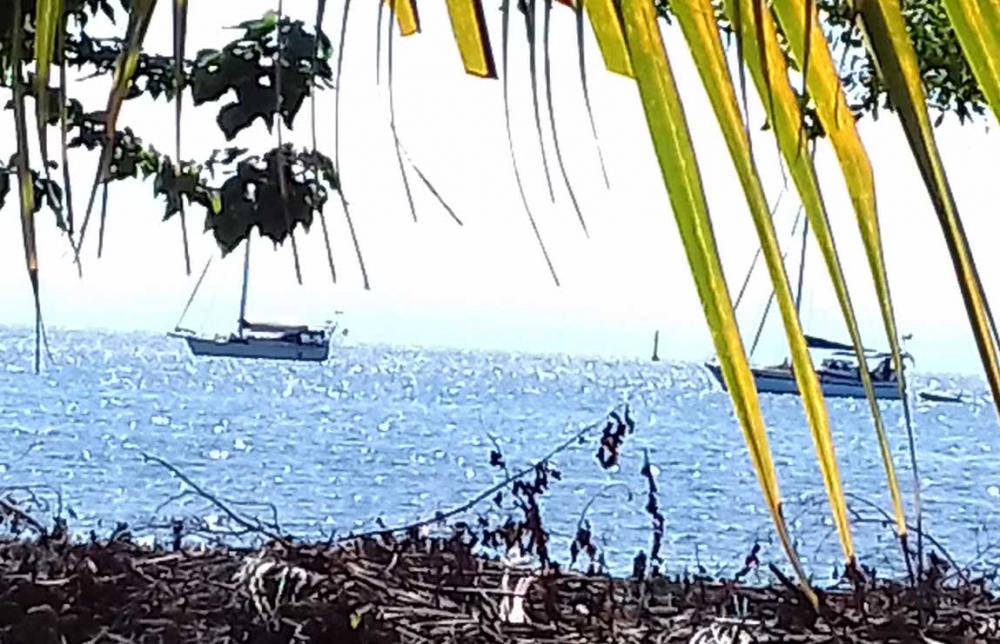
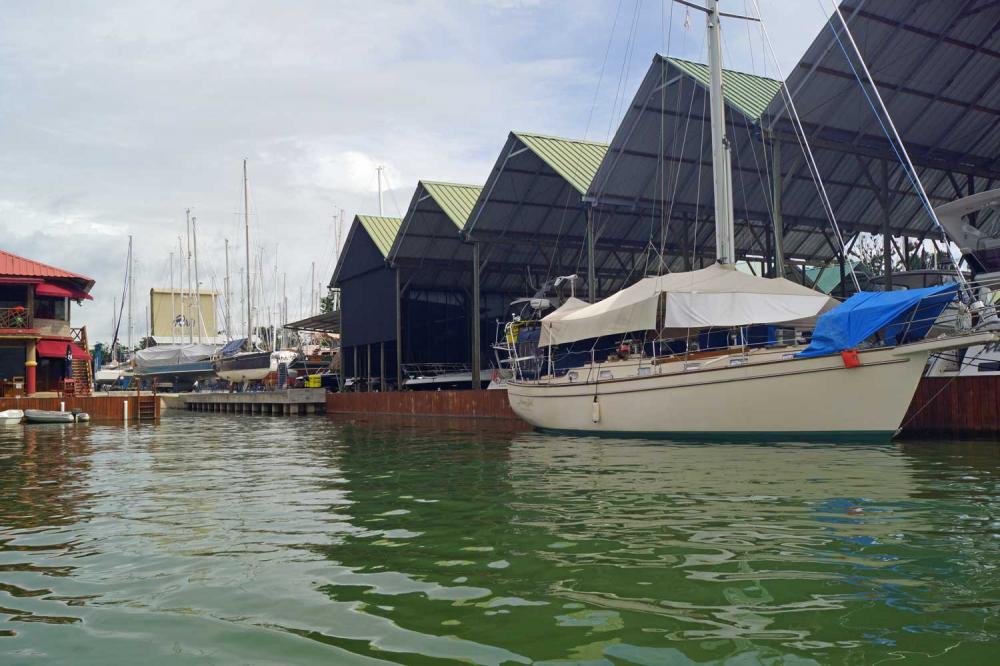
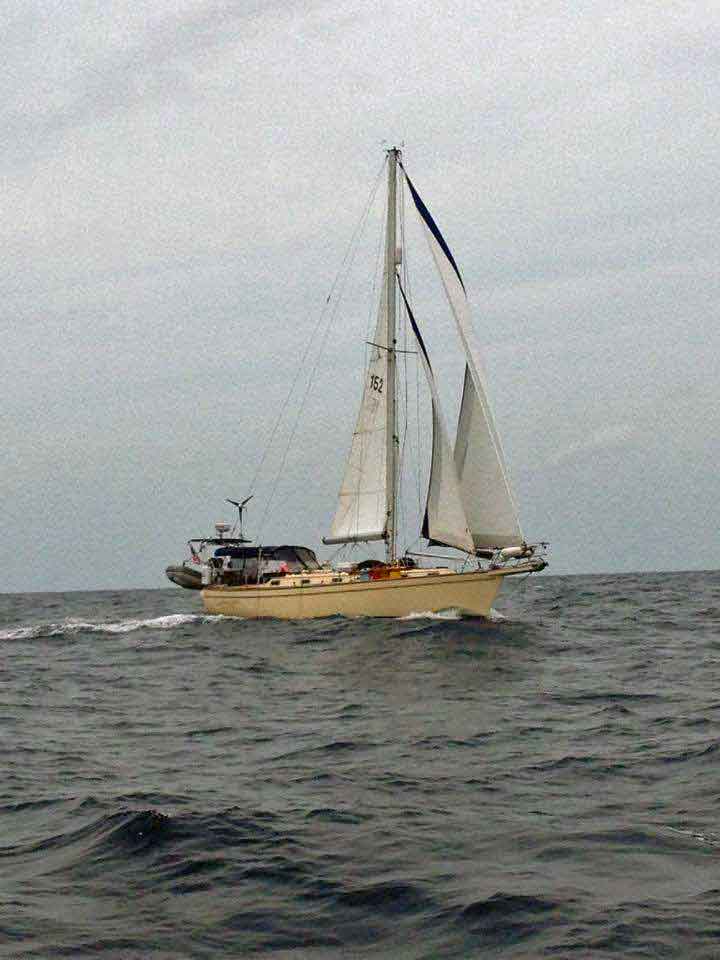
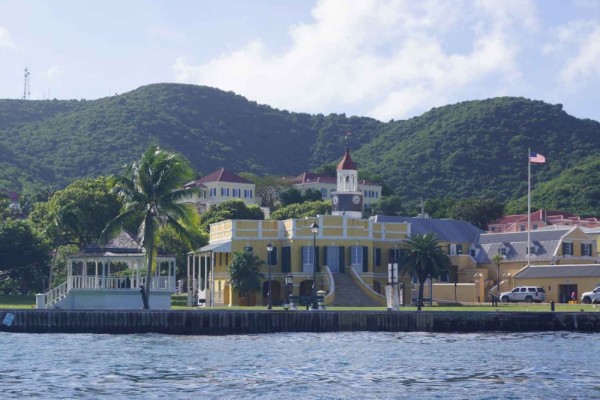
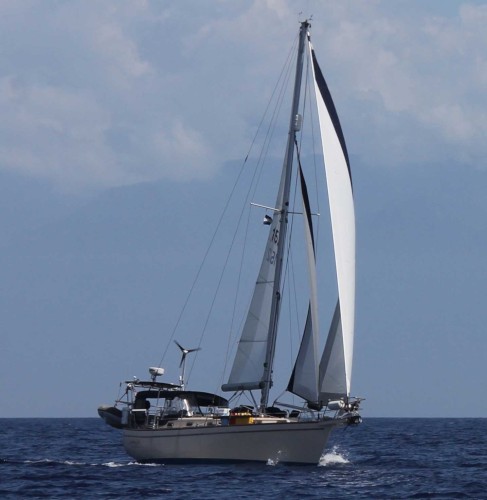
Sailing the Caribbean

21 February 2024
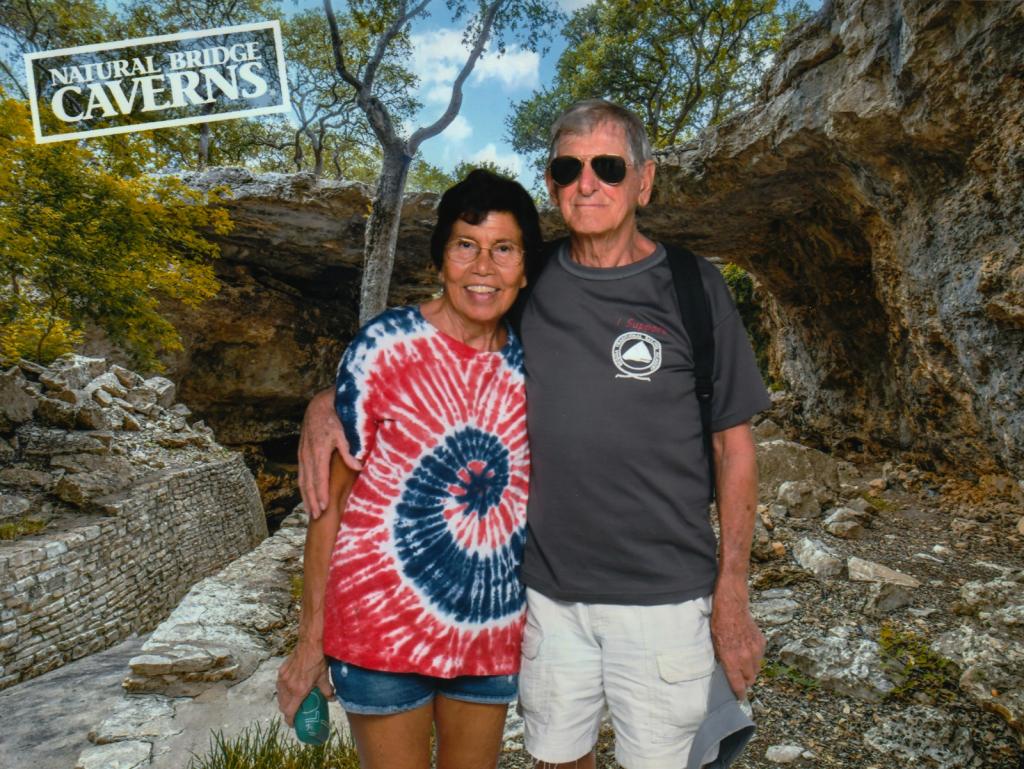
17 November 2023 | New Braunfels Texas
14 August 2023 | New Braunfels
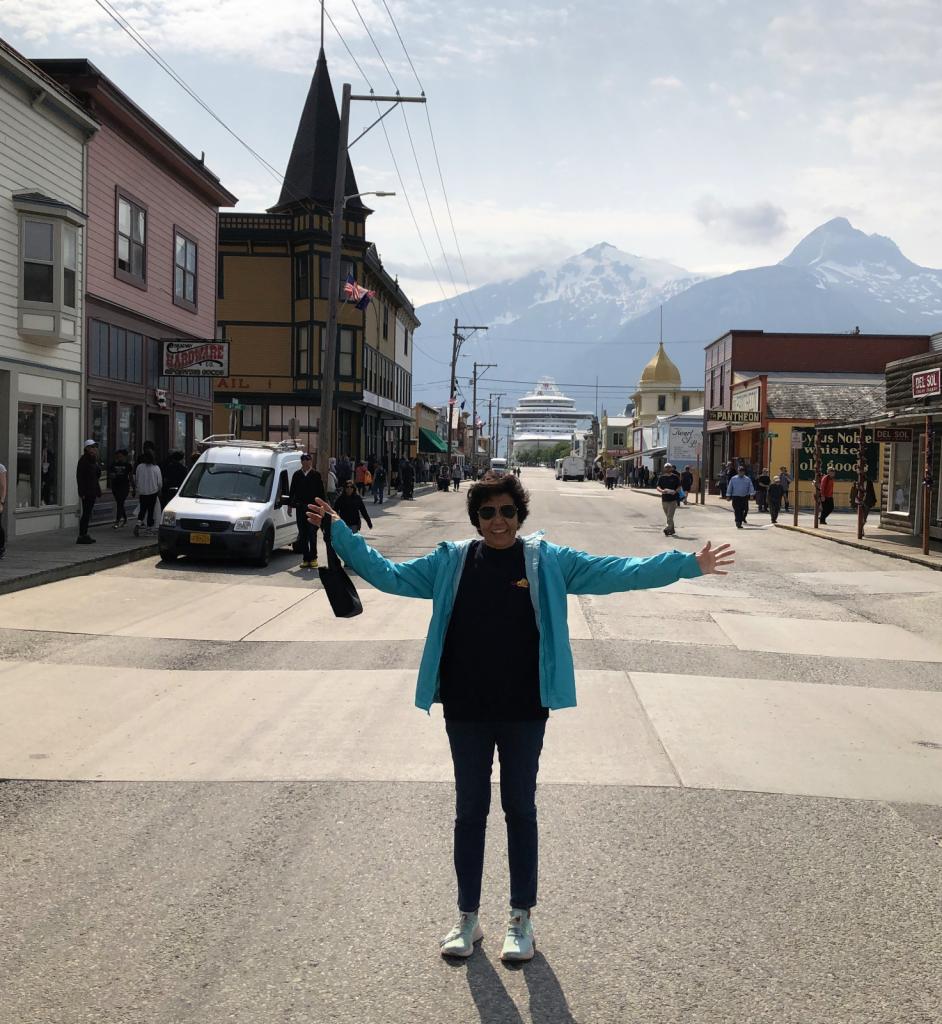
04 June 2023 | New Braunfels Texas
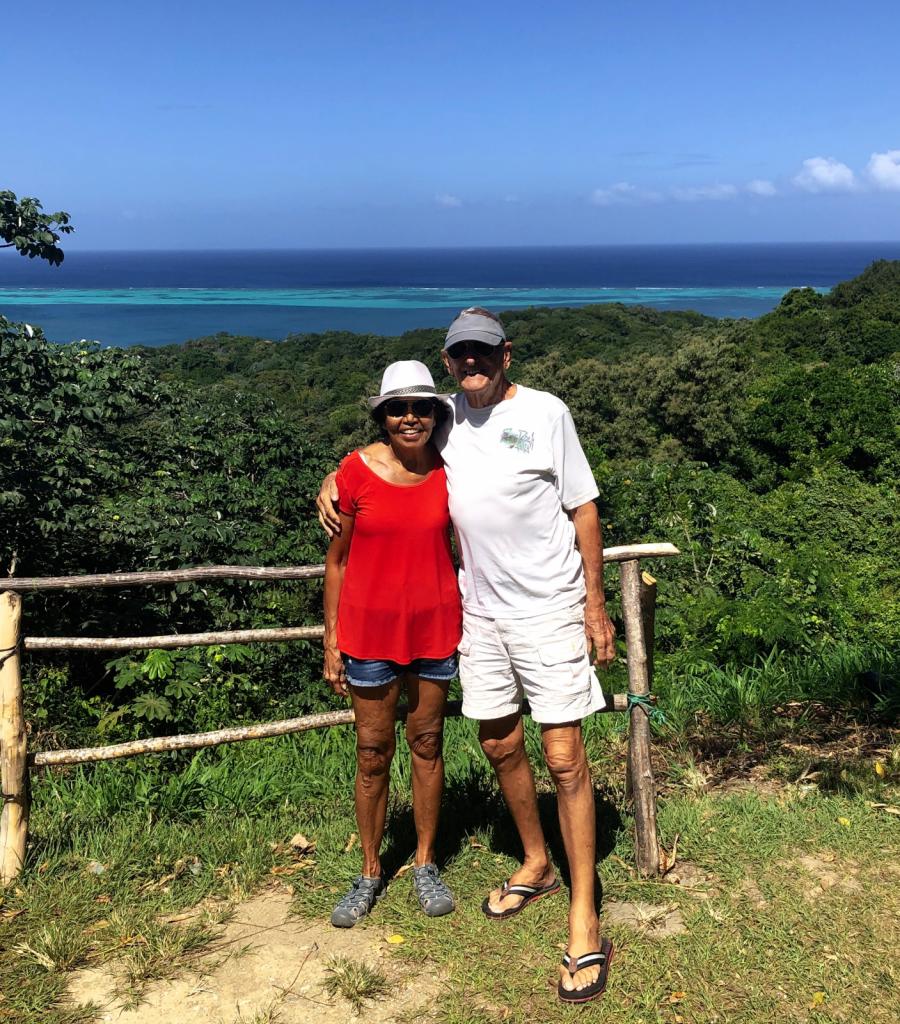
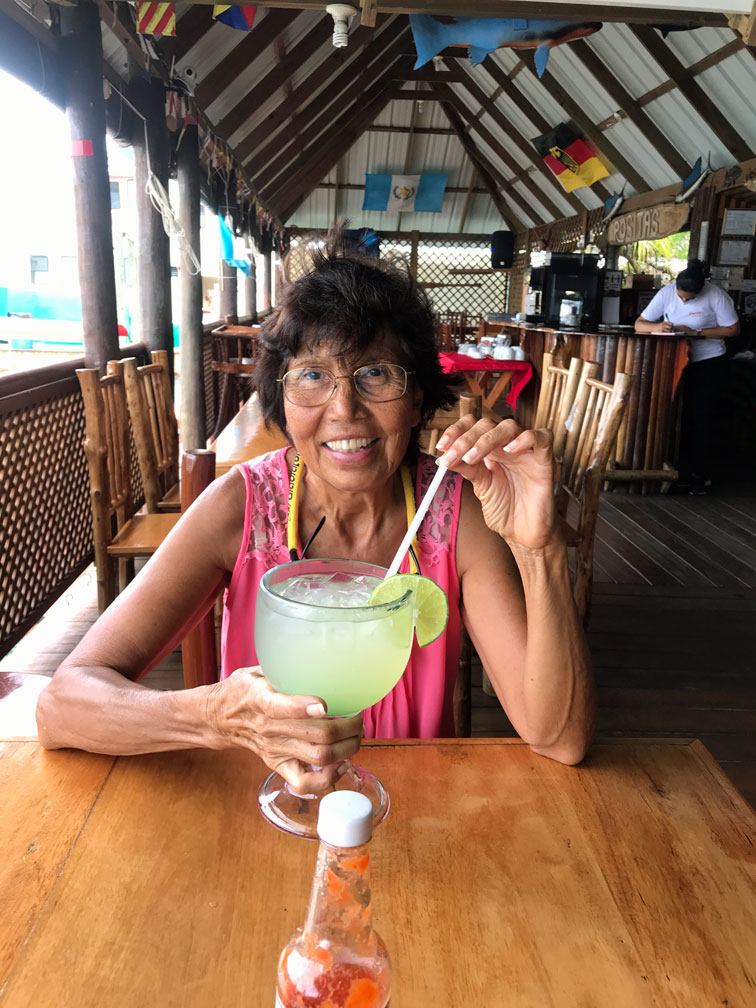
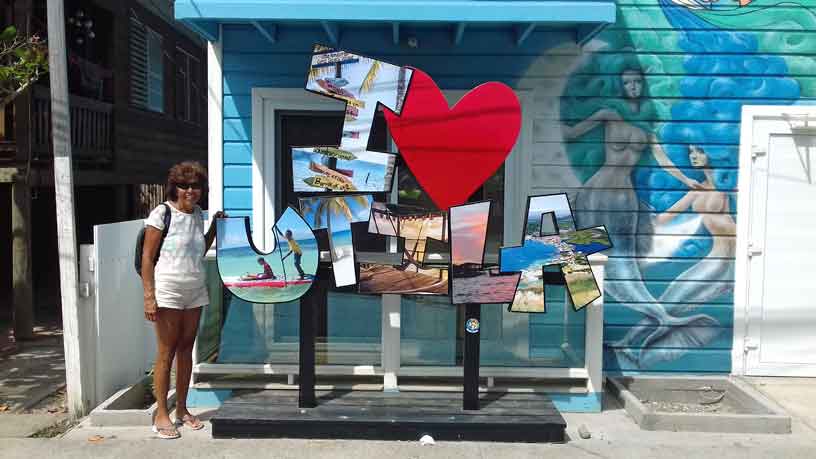
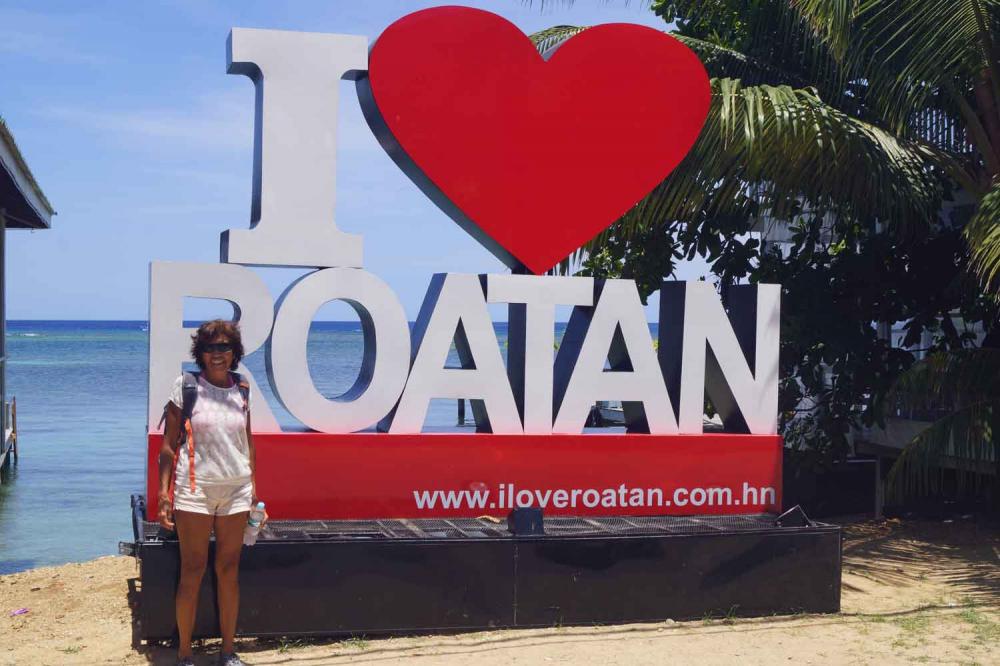
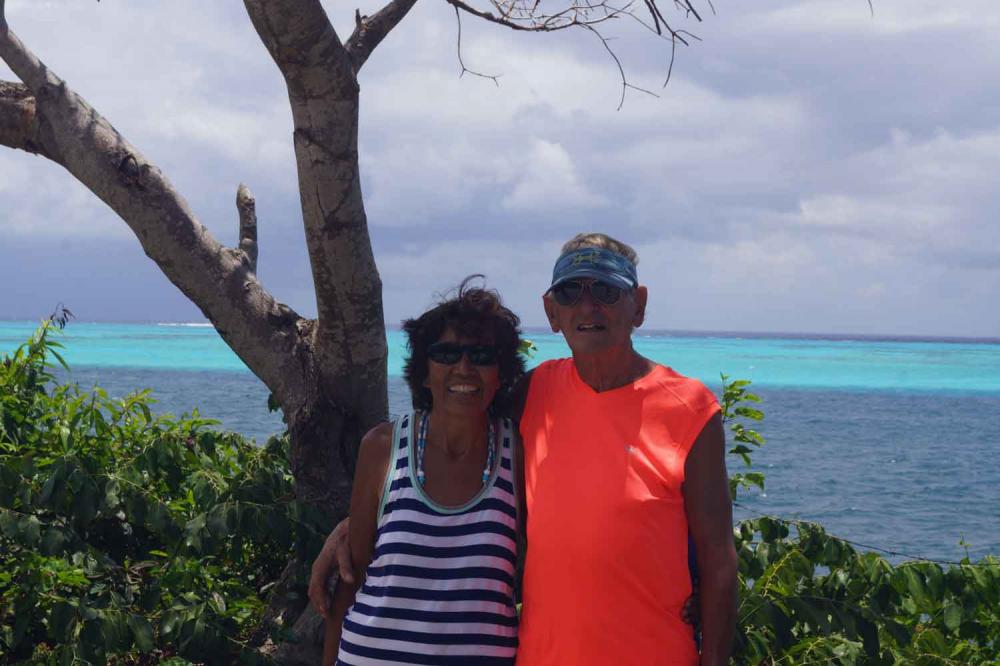
11 February 2023 | Turtle Grass Marina Calablash Bight Roatan Honduras
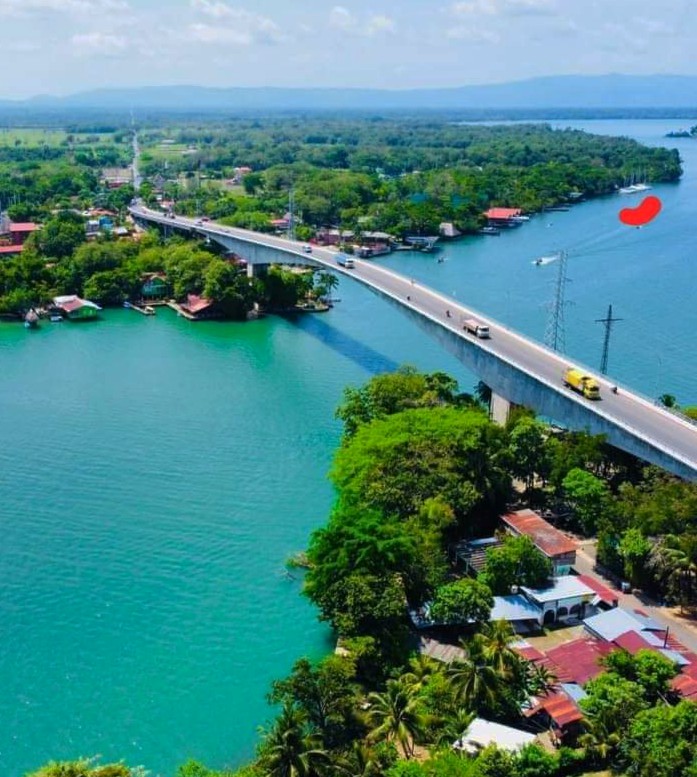
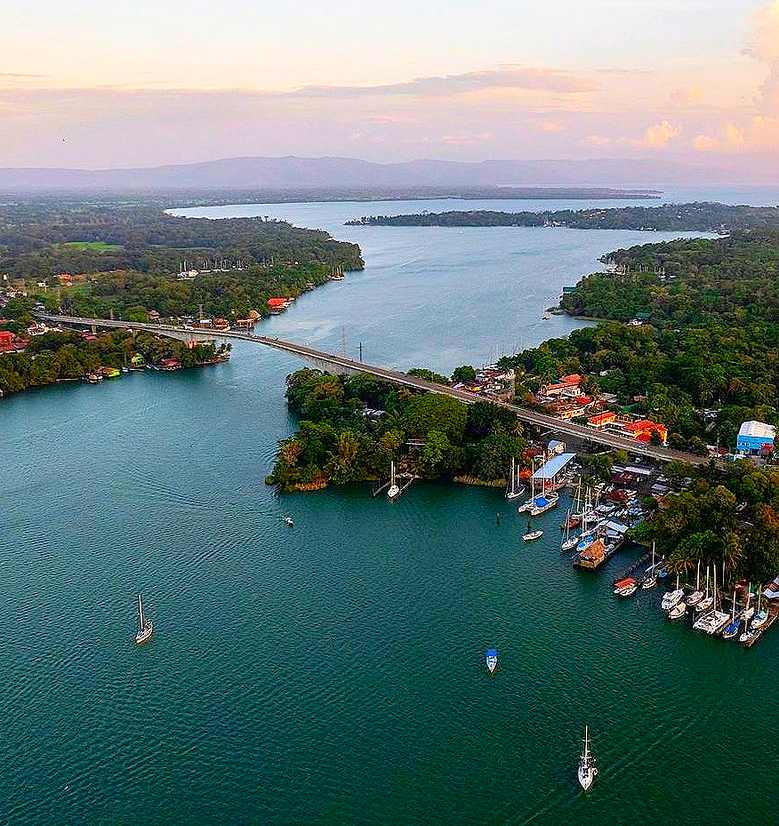
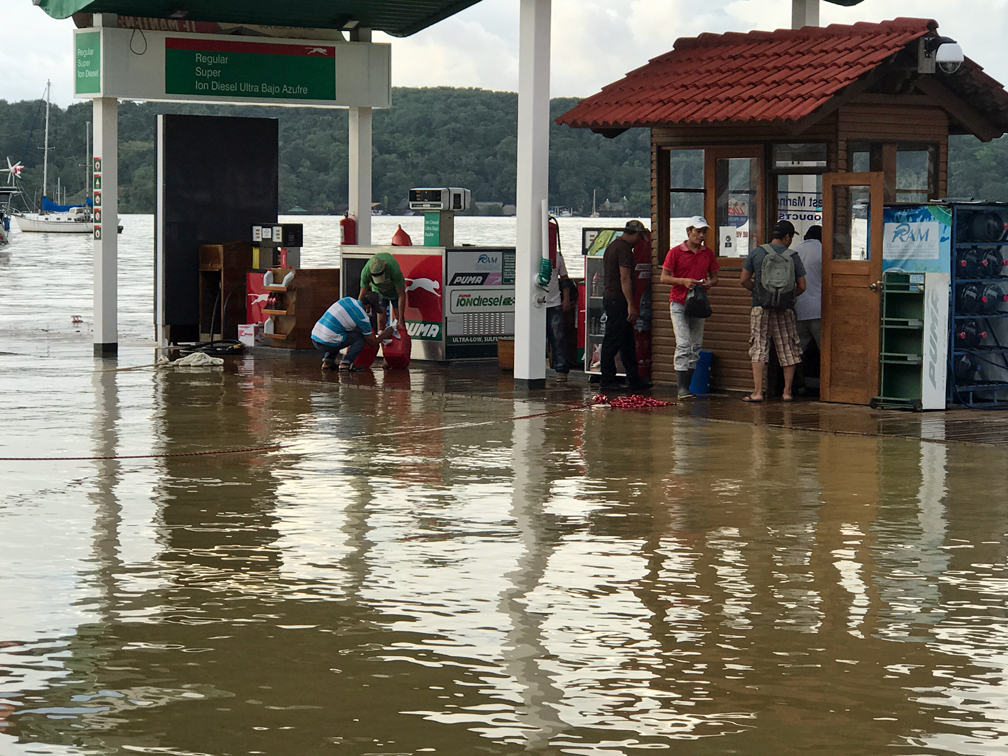
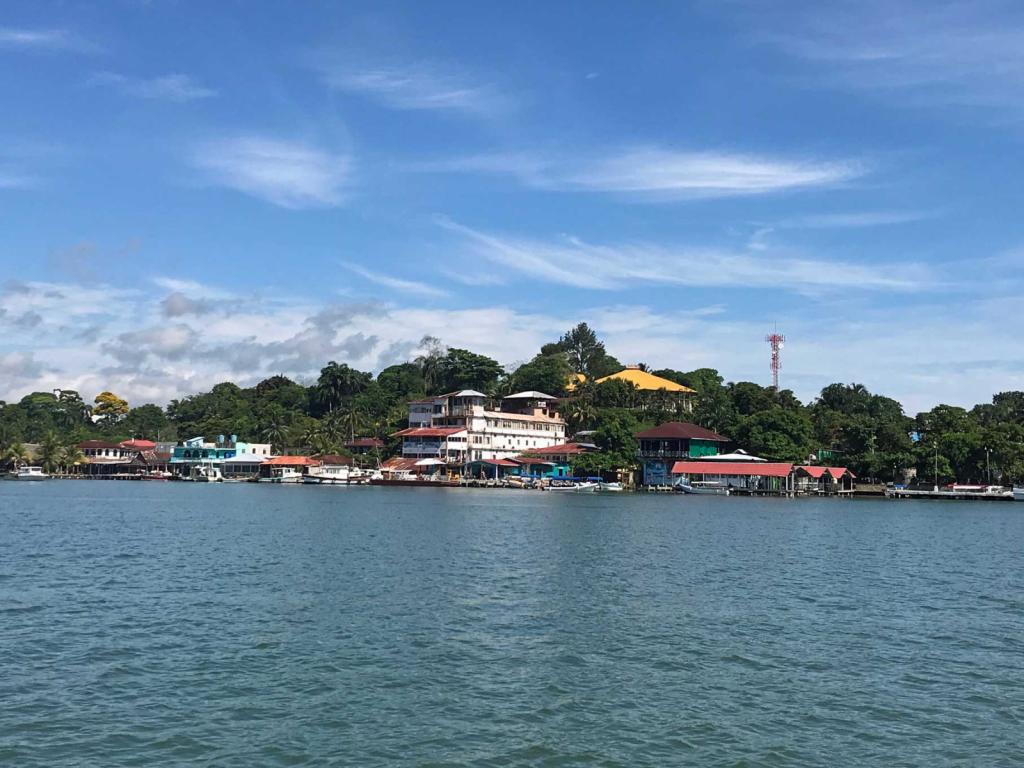
25 December 2022 | RAM Marina Rio Dulce Guatemala
31 October 2022 | New Braunfels, Texas
07 August 2022 | Gruene New Braunfels Texas
13 June 2022 | Home in New Braunfels
16 April 2022 | The Reserve Marina Sapodilla Lagoon, Beilize
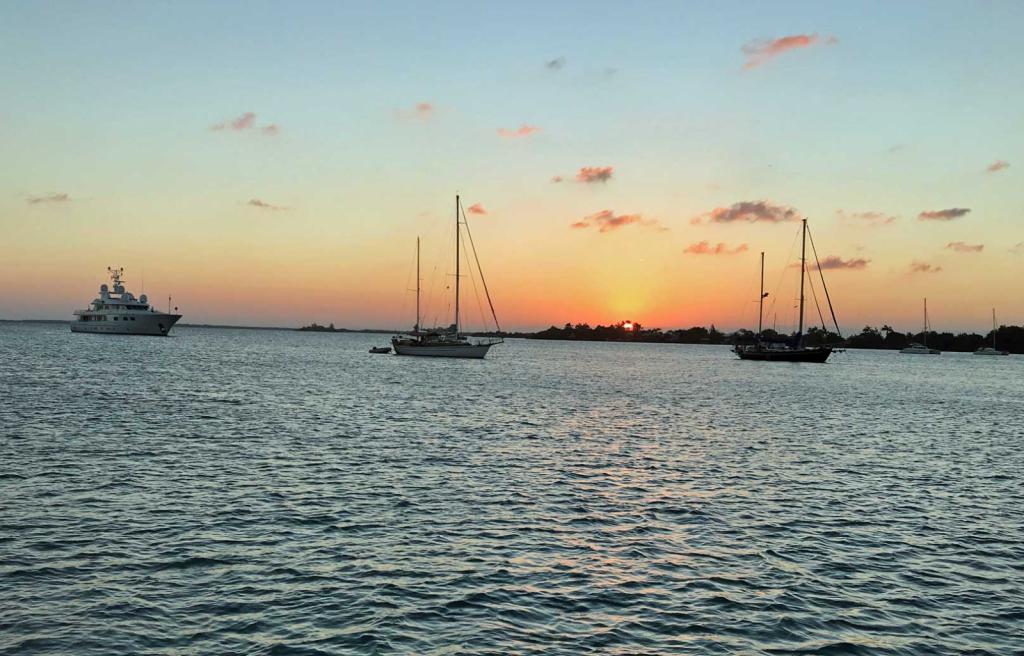
19 February 2022 | RAM Marina Rio Dulce Guatemala
15 December 2021 | RAM Marina Rio Dulce, Guatemala
29 October 2021 | New Braunfels, Texaa
13 August 2021 | New Braunfels, Texas
30 May 2021 | RAM Marina - Rio Dulce Guatemala
17 March 2021 | RAM Marina - Rio Dulce Guatemala
14 December 2020 | RAM Marina - Rio Dulce
28 September 2020 | New Braunfels, Texaa
10 June 2020 | RAM Marina - Rio Dulce
19 May 2020 | The Reserve Marina in Sapodilla Lagoon in Belize
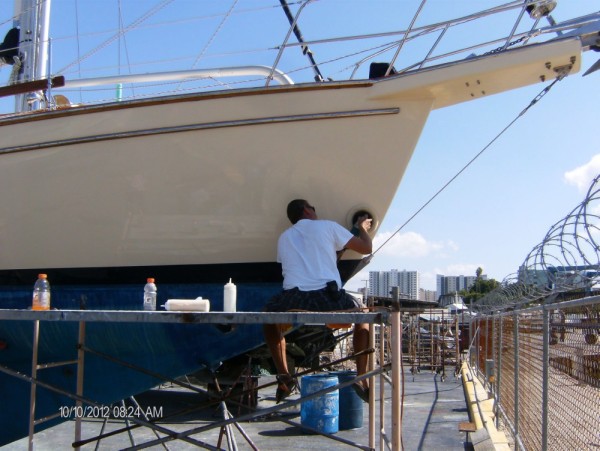
Chainplates Replacement on Island Girl
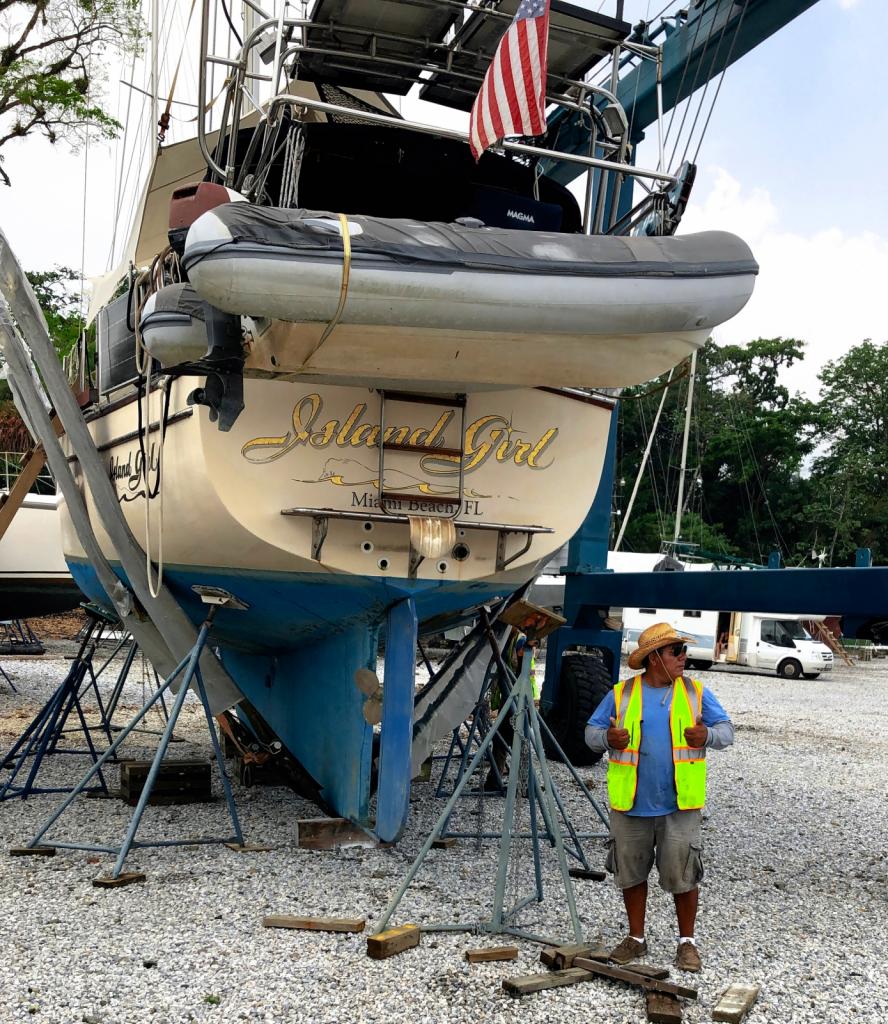
04 June 2018 | RAM Marina Rio Dulce Guatemala
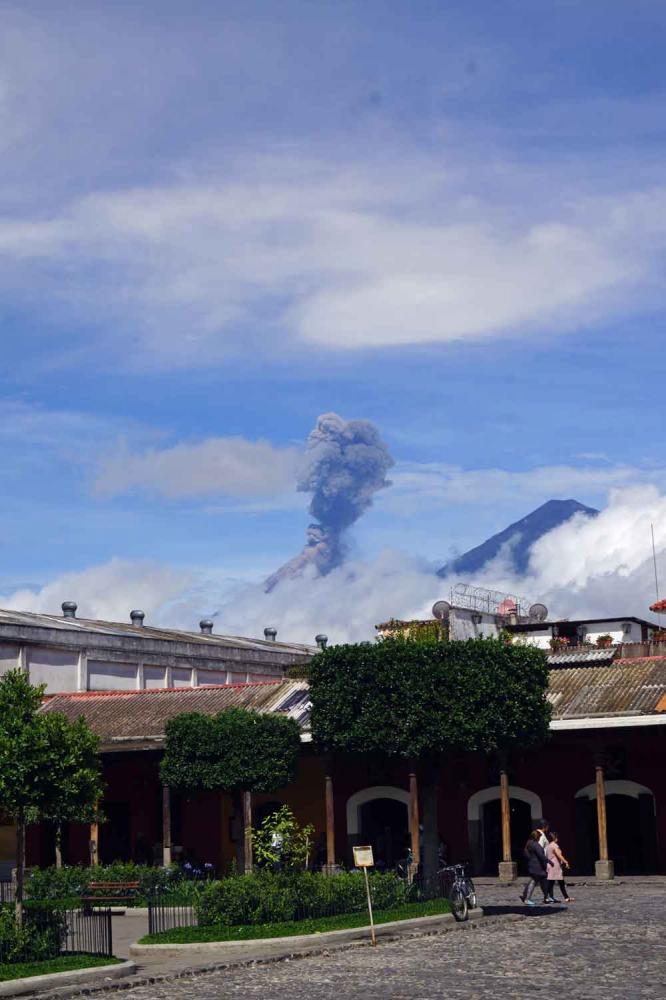
Bert - Warm and Humid with Volcanic Ash in the air
This blog will be very boring for non-sailors and sailors who are not aware how the chainplates are installed in an Island Packet from the 1980s and 1990s.
Why do we have to replace the Chainplates?
Many people consider the original chainplates installation a big mistake. The Island Packet main chainplates are not three separate pieces, but one large assembly where the three chainplates are welded together on a bar. To make them incredibly strong this assembly was encapsulated into the hull, spreading the load over likely 20 or 30 if not more Sq/Ft of hull.
However, as we now know if Stainless Steel is not allowed to come into contact with Oxygen, and it gets wet it corrodes. If you maintain your boat and seal on a regular basis the location around the chainplates where they come through the deck, you can keep the chainplate assembly dry. But you don’t know if the previous owner took care of this. In my boat it was very well done and the old chainplates were in a good condition.
This is a daily blog of the work I did with the help of a Fiberglass expert in RAM Marina in the Rio Dulce, Guatemala.
Day 1 April 28
The boat is on the hard at RAM Marina in Rio Dulce Guatemala and we have rented a room in a cabana. The room is large which allows us to store some of the stuff which must be removed from the boat. The cabana is just next to the boat, but it still means that for every item we must go up and down the ladder. After installing the out of the water A/C I started with removing the cabinets. It was difficult since I did not know how the cabinets were constructed and there were many places that were very difficult to reach. But after some practice I got the hang of it and I broke only one small piece of trim.
Day 2 April 29
Continued to remove the cabinets and it went a lot faster, but it was still a lot of work in tight places. At the same time, we needed to remove more stuff off the boat into our room in the cabana. At the end of the day the entire cabinets on the port side of the main cabin were removed.
Day 3 April 30
Put some plastic cover on so I could control the dust in the working area. I also installed an exhaust fan like the one that is being used in the engine room, to get the dust out. I did the first test run to remove the fiber matting which covered the chainplates assembly. In it self it worked but probably my grinder blades were too thin since in no time I tore up two of them. To get the chainplates assembly out I needed to either cut the assembly in parts or make a larger hole in the bulkhead. I made a post on FB to ask for some suggestions and sent an e-mail to Mack Sails. All the replies on FB advised me to cut a hole in the bulkhead so that I could install the new assembly in one piece. The e-mail reply from Mr. Colin Mack expressed an opposite opinion based on their wide experience with chainplates replacements on Island Packet boats. This is his response: “In all of the Island Packets that we have done we have never used the complete assembly. The connector tie strap of metal offers no structural support to the assembly. It is our opinion that it was originally done to make the installation easier at the factory prior to the bulkheads being installed. We have never seen an issue with any of our installations and we feel that the extra work does not justify the extra expense in terms of safety or structure”.
Day 4 May 1
The only effective way to create a hole in the bulkhead is to use a reciprocating saw, but no hardware store in Fronteras on the Rio Dulce sells this tool. So, the job was a little harder without this tool, but I got it done. After this was done I cleaned the boat and called it a day.
Day 5 May 2
After some consideration I decided to use one of the RAM Marina workers to do the grinding to take the old chainplates assembly out. The daily rate for such an experienced worker is only $50.00 a day, which is half the hourly rate in the USA. In preparation I took off the shrouds in between heavy rain showers and attached them to a cleat and two stanchions. I took the caulking out which is in-between the chainplates and the deck and detected no corrosion at all.
Day 6 May 3
Today is the day of the truth, we are going to take the Port Side chainplates assembly out. We used my Dremel to cut the fiberglass which covers the bar of the chainplates and the very thick fiberglass that encapsulates the 3 chainplates. Under each side of the chainplates are pieces of wood that were placed to create some space between the chainplates and the hull. With the Dremel we could take these pieces of wood out and with some force we removed the chainplates assembly.
In the process we already noticed that the bar of the chainplates assembly was corroded through and was broken. The break was underneath the 40 strands of fiberglass, so I considered this a major issue.
After our RAM Marina fiberglass expert named “Frendi” started grinding off the old fiberglass strands and remnants of the fiberglass around the old assembly, I cleaned off all the corrosion on the chainplates and in the process found a lot of small hairline cracks, which indicate that the material was at the end of its lifespan. At the end of the day we removed all the dust of the grinding process and it was incredible to see how the dust penetrated areas which we thought we covered well.
Day 6 May 4
Frendi, our RAM Marina fiberglass expert, continued to remove the old fiberglass strands and remnants of the fiberglass around the old assembly and it took us the rest of the day to get all the dust out of the boat. It was not a pleasant day.
Day 6 May 5
De new chainplates are wider and thicker than the old ones. So, the first job was to make the holes through the deck larger and fit the new chainplates assembly. After the dry fit worked fine, I installed the assembly and connected the shrouds to pack the putty I put on the chainplates.
Outside I sanded the teak around the enlarged holes, waterproofed them and let them dry overnight.
Day 7 May 6
Frendi, our RAM Marina fiberglass expert came in to fiberglass the chainplates assembly in. We had purchased from the “Island Packet Manufacturer” 16 fiberglass unidirectional strands of which 2 needed to be wrapped around each of the 3 chainplates and attached to the hull after they were soaked in resin. Frendi did this all with his bare hands. In the meantime, I applied wood sealer to the teak on the deck where the chainplates come through the deck. After Frendi was done we had a lot of cleaning to do, but we were happy that the first, the Port Chainplates assembly was in.
Day 8 May 7
Now that all the cabinets and hull cover were removed I wanted to use the opportunity to rewire the electricity. For that purpose, I applied a lot of wood pieces with “West System Six 10” adhesive to attach them to the hull. It was not a great success since I cut the wood strips too long, the hull is curved and due to the original fiberglass surface, not very even. The rest of the afternoon was spent on repairing a leak in our galley faucet.
Day 9 May 8
I worked the entire day on the “rerouting” of the electric wires, removing live wires that were just cut off without any protection. Tested some paint, that I purchased at a bargain price, for the wall boards which cover the hull. It was oil paint which I did not like, but when it was dry it looked pretty good.
Day 10 May 9
Working again on the “rerouting” of electric wires, removing live wires that were just cut off without any protection. Reinstalled the top of the hang locker in the bedroom. Had a lot of problems to re-install the wallboard and finally cut it in two pieces to accomplish the installation. A small trim made the cut invisible.
Day 11 May 10
Installed the new deck plates around the chainplates and applied sufficient caulking to prevent water intrusion. Working on the “rerouting” of the electric wires and removing live wires that were just cut off without any protection. Painted the wallboard in the main cabinet and started to re-install the cabinets in the main cabin.
Day 12 May 11
Completed the re-installation of the cabinets in the main cabin and hang lockers in both the main cabin and the bedroom.
Day 13 May 12
Completed the installation of the cabinets in the bedroom. Started to remove items from our bedroom so I could start working on the starboard side. RAM Marina allowed us to store our mattress in their storeroom. The removal of the cabinet above our bed was very difficult since the cabinet was custom built in place and I did not want to de-assemble the cabinet.
Day 14 May 13
After removing the cabinet from our bedroom, we temporarily stored it in our room in the RAM Marina Cabana. After I removed the wallboard and inspected the chainplates assembly in turned out that the chainplate for the top of the mast was behind the bulkhead wall and I had to remove the cabinets from the main cabin as well. I also had to cut a large hole in the bulkhead to be able to remove the chainplates assembly.
Day 15 May 14
Since I did not want to remove the electric, electronic and communication center I had to cut the cabinet and removed the part that covers the chainplates assembly. After I removed the wallboard, nearly cutting the electric wires hanging between the hull and the wallboard, I saw that part of our watermaker was still in the way. But Frendi, the fiberglass expert, advised me he could work around it.
Day 16 May 15
With the use of the Dremel tool I cut the fiberglass which encapsulated the chainplates assembly. It was a hard job especially since the chainplate for the top of the mast was exactly on the location of the bulkhead. After 4 hours cutting I got all the material removed around the chainplates assembly and for the first time since I started this job I called it quits around lunch time. I was completely covered with dust and I desperately needed a shower.
Day 17 May 16
After opening the space of the chainplates where they come through the deck I removed the chainplates assembly. The chainplates showed some corrosion, no cracks but a broken assembly bar close to the stern chainplate. I enlarged the holes in the deck for the new chainplates and for the second day I called it quits before lunch. We took the time to go to town to drop off our bikes for a few repairs, did some shopping for materials I needed for the reconstruction of the cabinets, had a great lunch in town and afterwards a lazy afternoon.
Day 18 May 17
Then the most miserable day came. RAM Marina Fiberglass expert Frendi came to do the grinding of the hull. We thought that we had done a better job to protect the boat from all the dust, but it looked like it was definitely not enough. The dust was everywhere. The amount of fiberglass dust on the ground where Frendi did the grinding was enormous, and we could just scoop it up. After Frendi was gone we worked the rest of the day to remove the dust. For Frendi to be able to attach the chainplates assembly the next morning I worked late into the afternoon to get the assembly in, but this time it was difficult.
Day 19 May 18
When I came into the boat the next morning the dust had settled, and I started to clean it up. I was working in a corner and did not pay attention to the vacuum cleaner. Instead of collecting the dust it was blowing it out; the filter had come loose. The result was dust everywhere and I could start all over again.
After this disaster I did the caulking of the chainplates on the deck and Frendi came in to do the fiberglass work. In the meantime, I started to dis-assemble the seat, the steering and auto pilot mechanism so that when working on the stern chainplates these very greasy parts would not collect fiberglass dust. Grease and fiberglass dust is a very bad combination. The seat needed some repair and Frendi fixed these problems with his fiberglass skills. After Frendi completed his tasks I started to fix the wiring.
Day 20 May 19
Worked the entire day on the electric re-wiring. Installed at the end of the day the wallboard in the bedroom.
Day 21 May 20
Installed the cabinet in the bedroom and connected the lights and fans. Installed the wallboard in the main cabin on the starboard side and the framing of the cabinet that I had to cut. This one was a little tricky since I cut them in pieces, so I did not have to remove the part of the cabinet with all the electronics.
Day 22 May 21
Completed the installation of the cabinet in the main cabin. Cleaned the two bathrooms, the bedroom and the main cabin and prepared to remove all our stuff from the storeroom which is actually our second bedroom, so we could reach the small hatch that allows access to the stern chainplate and the water heater. Started to work on removing the 12-gallon water heater.
Day 23 May 22
The dimensions of the water heater are 20 x 18 inches and the opening to get it out is 21 X19 inches, so it was difficult to get it done. The area around the water heater is filled with cables and hoses for many different applications and it is a mess. The area is also very small so before I continued to clean it up we asked Frendi, the RAM Marina Fiberglass expert, to have a look if he could work in this small area. He crawled into the space and declared with a smile on his face that it was so good to be a ‘small’ Guatemalan man since he had no problems with his ‘work space’. But due to all the twisting and turning he lost his bearings and could not find the chainplate since he was looking at the inside ‘wall’ instead of the stern. We all had a good laugh out of this. The remainder of the day I spent removing hoses and rerouting wires to free up space to access the chainplates.
Day 24 May 23
Completed the rerouting of wires and hoses. I took the backstays from the stern chainplates and connected them to some cleats. With plastic cover we created two areas around the chainplates in hopes to contain the dust of the grinding which will start tomorrow.
Day 25 May 24
When I came in in the morning I put some more plastic cover on since the two spaces where you can reach the chainplates are so small. Instead of cutting out the chainplates with my Dremel I let Frendi do it at the same time he was grinding. The problem with the small spaces is that every time you move you tear up the plastic cover resulting in dust everywhere.
When Frendi was done we started to clean and it was almost impossible to get all the dust out in these small spaces with cables and hoses. We did our best. Afterwards I installed the new chainplates.
Day 26 May 25
Frendi came early to fiberglass the new chainplates in and install a piece of marine plywood I need to attach the Centek water/exhaust separator and the SSB antenna tuner to. After he was done I started to reinstall the endless amount of wires and hoses. It was very hard to work in these tight spaces.
Day 27 May 26
I continued to reinstall the wires and hoses. I took the opportunity to organize the wires better.
May 27
Took the day off to celebrate my wife Dorothy’s 70th Birthday
Day 28 May 28
After a day off to celebrate the birthday of my wife Dorothy, I continued to reinstall the wires and hoses. I took the opportunity to organize the wires better. This was a hard job in the very limited space in the stern of the boat.
Day 29 May 29
Continued to install the wires and hoses in the very small space in the stern of the boat. Installed water/exhaust system for the generator and installed the SSB antenna tuner.
Day 30 May 30
Installed the autopilot and the loudspeakers for the sound system. Installed the water heater. With this install I called the replacement of the chainplates complete. I still need to do a lot of cosmetic work on the cabinets but since I have to varnish that can only be done over short periods of time during the day.
Comments
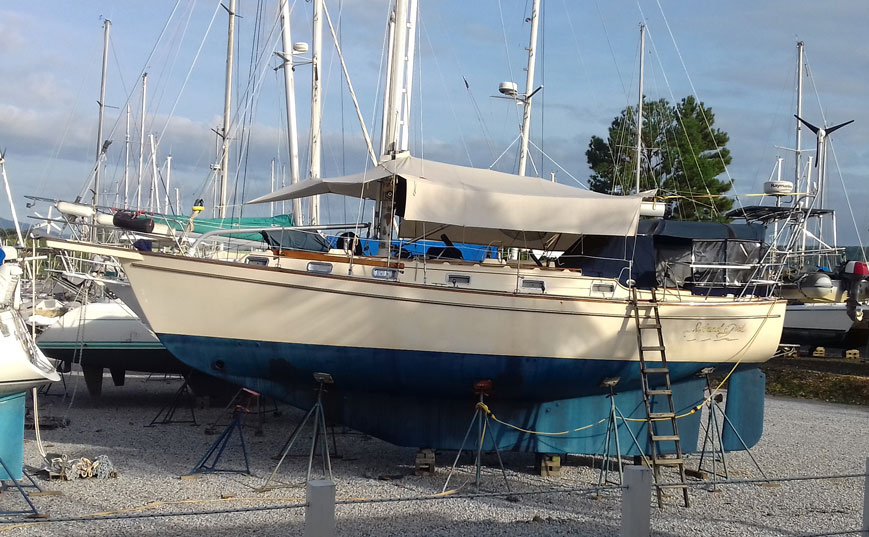
| Vessel Name: | Island Girl |
| Vessel Make/Model: | Island Packet 38 |
| Hailing Port: | Miami Beach, FL |
| Crew: | Dorothy and Bert Dorrestyn |
| About: | |
| Home Page: | https://www.facebook.com/ |
| Social: |
|
Island Girl's Photos - Main
 |
 |
 |
 |
27 Photos
Created 4 June 2023
|
 |
 |
Our 2022 Trip from New Braunfels to Rio Dulce, Guatemala
14 Photos
Created 25 December 2022
|
 |
 |
 |
 |
 |
 |
 |
 |
 |
 |
 |
 |
32 Photos
Created 28 September 2020
|
 |
 |
 |
 |
 |
 |
 |
The building of our new home
34 Photos
Created 12 August 2019
|
 |
 |
 |
35 Photos
Created 25 January 2019
|
 |
 |
 |
 |
 |
 |
 |
 |
 |
 |
 |
 |
Guatemala and Back to Texas in June 2017
37 Photos
Created 18 June 2017
|
 |
 |
 |
 |
Our Visit to Guanaja Honduras
34 Photos
Created 30 April 2017
|
 |
 |
Our visit to Isla San Andres Colombia in March 2017
38 Photos
Created 21 March 2017
|
 |
 |
 |
 |
 |
 |
 |
 |
 |
 |
 |
 |
 |
 |
 |
 |
 |
 |
 |
 |
 |
 |
 |
38 Photos
Created 3 February 2016
|
 |
 |
 |
 |
 |
 |
Our visit to Cartagena des Indias in November 2015
52 Photos
Created 25 November 2015
|
 |
 |
 |
Visit to Bogota October 20 - 23 2015
53 Photos
Created 26 October 2015
|
 |
 |
 |
13 Photos
Created 6 September 2015
|
 |
 |
 |
 |
 |
 |
 |
 |
Leaving Antigua back to Guadeloupe
33 Photos
Created 30 March 2015
|
 |
 |
 |
St. Croix to St. Maarten Simpson Bay
23 Photos
Created 11 January 2015
|
 |
Farewell Bonaire and Hello St. Croix
28 Photos
Created 15 December 2014
|
 |
 |
 |
 |
 |
 |
Sailing South from St Lucia to Grenada
38 Photos
Created 31 May 2014
|
 |
Sailing South from Antigua to St. Lucia
22 Photos
Created 12 May 2014
|
 |
 |
Sailing North from Martinique to Antigua
26 Photos
Created 9 April 2014
|
 |
Sailing North Trinidad to Martinique
11 Photos
Created 2 April 2014
|
 |
Trinidad Land Trip and Haul-out
30 Photos
Created 13 March 2014
|
 |
 |
Trinidad a Lot of Work and Some Fun
39 Photos
Created 19 February 2014
|
 |
 |
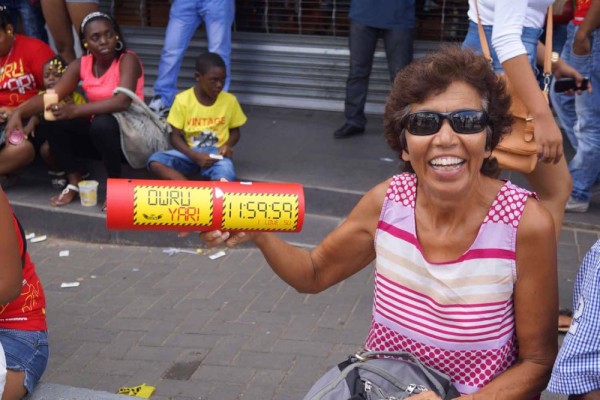
Farewell Suriname – Back to the Caribbean
44 Photos
Created 27 January 2014
|
 |
 |
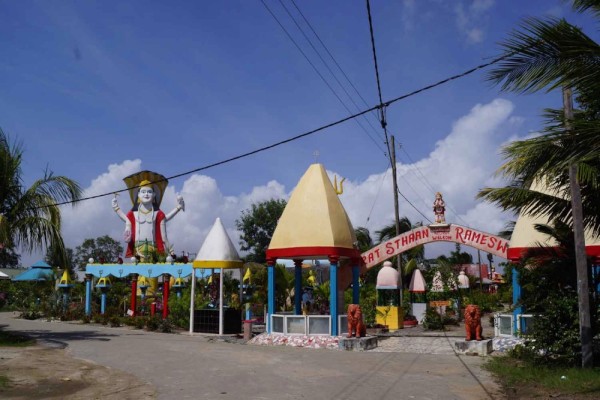
Suriname - The Re-discovery Continued
34 Photos
Created 24 November 2013
|
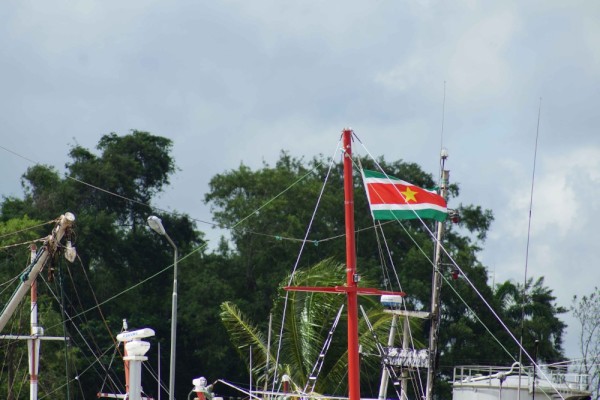 |
Suriname - “A sentimental journey to renew old memories”
34 Photos
Created 2 November 2013
|
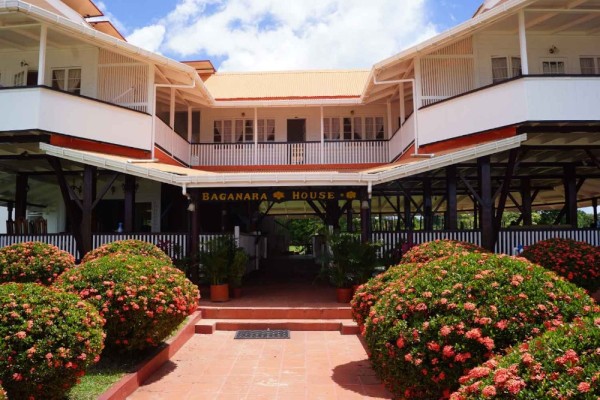 |
Bartica and Georgetown – Guyana
49 Photos
Created 18 October 2013
|
 |
 |
 |
A Roller Coaster Visit to the USA
45 Photos
Created 31 August 2013
|
 |
 |
 |
 |
 |
 |
 |
 |
 |
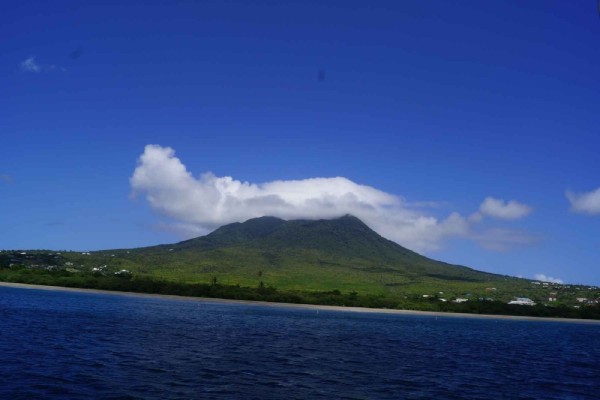 |
Nevis, Montserrat, Guadeloupe
43 Photos
Created 22 April 2013
|
 |
 |
 |
 |
 |
British Virgin Islands Continued
37 Photos
Created 15 March 2013
|
 |
 |
 |
St. Thomas US Virgin Islands
26 Photos
Created 21 February 2013
|
 |
 |
 |
 |
Dominican Republic Land Trip
43 Photos
Created 16 January 2013
|
 |
 |
 |
 |
 |
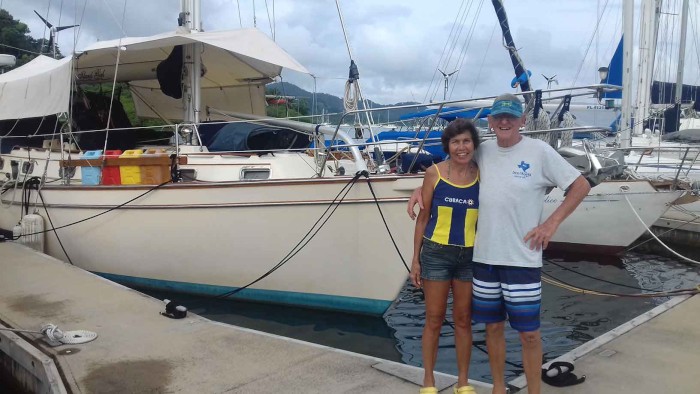
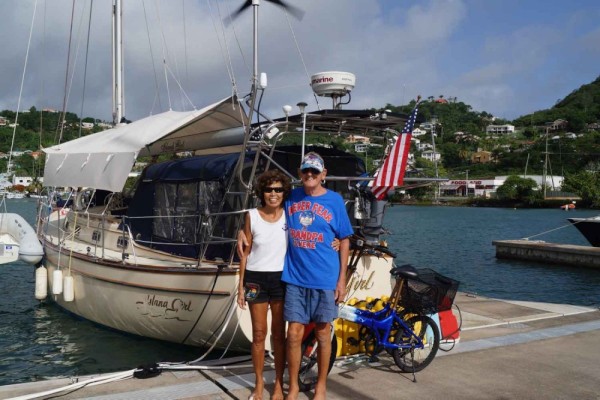
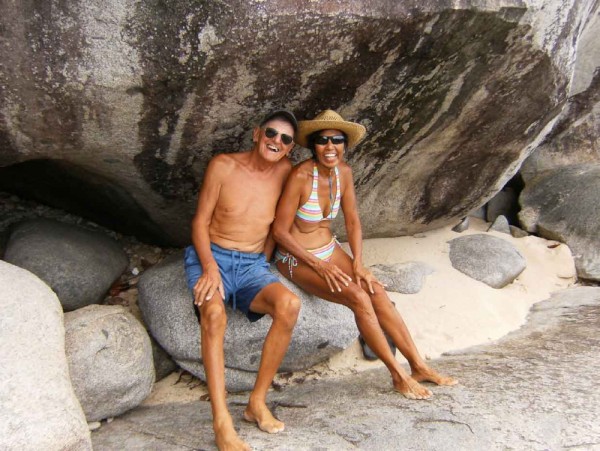
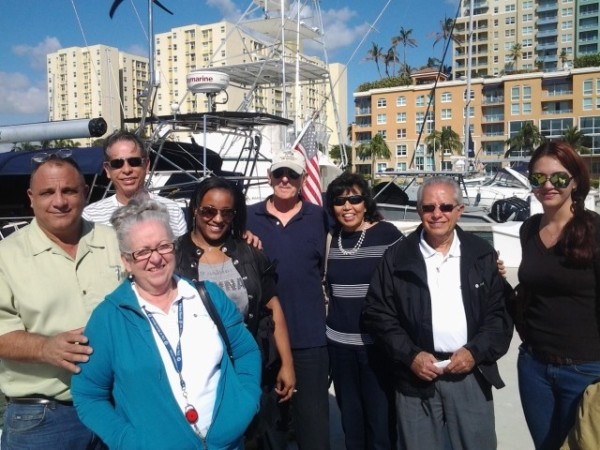
Bert and Dorothy Dorrestyn, The Crew of Island Girl
7 Photos
Created 20 October 2012
|
 |
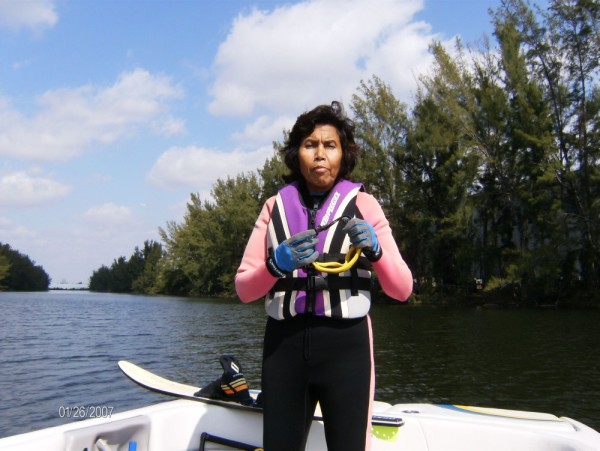
Dorothy and Bert Sailing the Caribbean
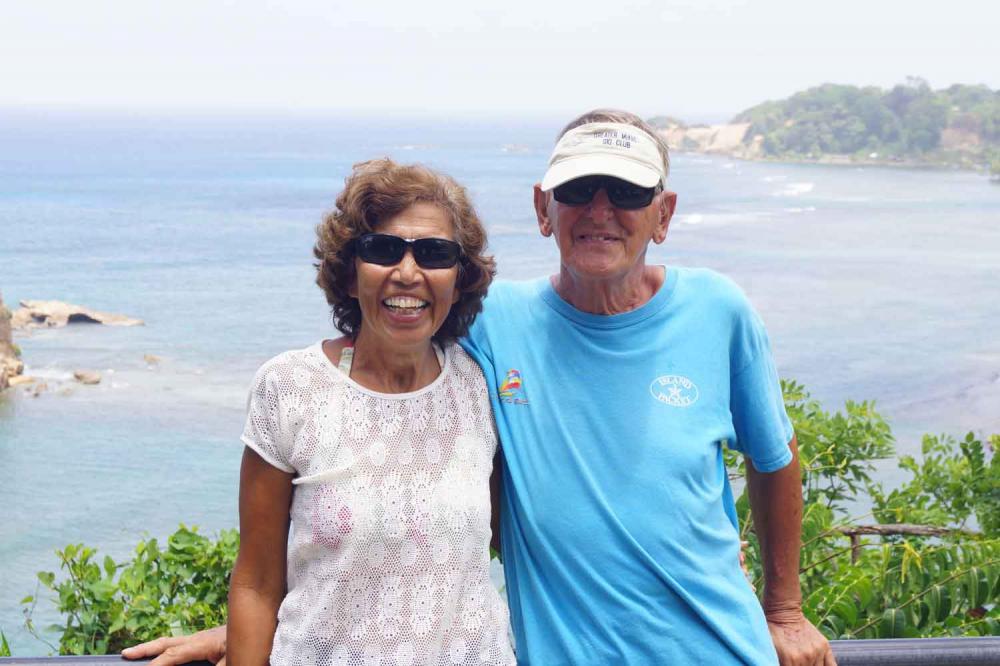
Who: Dorothy and Bert Dorrestyn
Port: Miami Beach, FL