

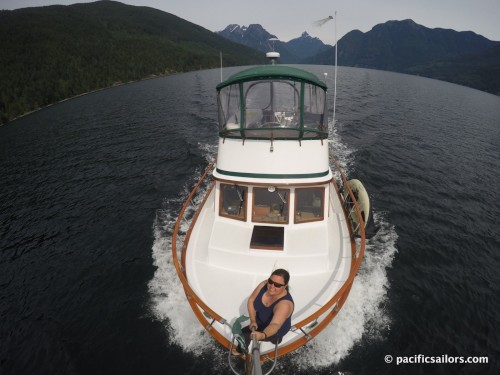
When we returned to the boat in March, after six months of work in Key West, we were a little overwhelmed with needing to start the diesel fuel tank replacement project. So we procrastinated for a few days and took a trip to the San Juans via ferry to stay at our favorite resort.
We are keeping the boat under shrink-wrap for now because it looks like we may not have time to cruise this summer. The shrink-wrap will make bringing in the new fuel tanks a little tricky as there is not much space to move around on deck.
TIP If you don't want to hear about fuel tank install, skip to the end for some more fun photos.

Before we could start removing the old tanks we wanted to make sure the wall panels in front of the tanks were not made of asbestos. It cost about $50 to have a small piece tested and luckily they are just fiber-board and paint. No asbestos!
 The engine room before removing anything, looking aft and starboard.
 Limerick had two large diesel tanks, at 135 gallons each, made of black steel. They were original from 1980 and one of them had started leaking (only about a tablespoon a day) last cruising season. There is no way to tell where the leak was so plugging it was not an option. When we left the boat at the end of last summer we emptied the remaining diesel into the non-leaking port tank. After removing the fiberboard on the starboard-side we had better access to the tank but there was no way it would come out in one piece. So Mike got out his favorite tool and cut it into pieces using his Sawzall.
 Wall panels removed
Last year Mike designed a system that pumps the fuel between the two tanks through a 2-micron Racor filter so we can polish the diesel. It also lets us level the boat at anchor by moving fuel to either tank. After the first hole was cut we understood why we were going through so many fuel filters despite having polished our fuel repeatedly. There was over an inch of sludge and rust on the bottom of the tank.
 The first hole. Also visible is the one baffle in the middle of the tank.
 Rust and sludge
 40 years of diesel sludge filled the tub
 Starboard tank has been removed
 Space where the starboard tank used to be
Unless we wanted to remove the engine there was no way to replace the original tanks with another single tank per side. So we are having two tanks per side fabricated from aluminum. Using an end piece of the old tank we made cardboard models of the new tanks to make sure everything would fit and be able to come aboard through our doors and engine room hatch.
 Selecting only the best pieces of cardboard
  Flybridge Workshop under the shrink-wrap bubble
 Making the cardboard models
 The tanks look much bigger like this
 Fitting the cardboard models. Two "tanks" side-by-side in place.
After we saw the sludge in the starboard tank it was clear that we needed to replace both tanks. Since the two sides are connected we would just contaminate our new tank if we left one old tank. Before we could start on the port-side tank we had to pump out nearly 80 gallons of remaining diesel. We decided not to reuse the diesel so we wouldn't reintroduce the same bugs to our new tanks. We were glad to hear that our boatyard would be able to use it in their shop heaters.
 Pumping the old fuel into barrels.
  Engine room port-side before wall and tank removal.
With every project, there are also the "while we're at it" projects. Once we had both tanks removed we had tons of access to normally near-inaccessible places. Our water heater was ten years old, so we replaced it while we had good access once the port tank was out.

And while there was access Mike replaced all the drains and fresh water hoses to the galley and aft head and was finally able to overhaul the last seacock. Now all of Limerick's thru-hulls and seacocks have been replaced or rebuilt.

To the right of Mike (in the photo above) in the corner under the galley counter, is a huge space that was not very usable. I found this awesome drawer unit and now we have tons more storage. If you don't know what our galley looks like check out our boat photos page.
 Installing the new drawers
 To access the new drawers we just have to remove the trashcan.
 New drawers can pull out all the way
Mike also revamped some parts of the exhaust system. He put in all new hose and a new elbow. He spent a lot of time in that corner, which is usually taken up by fuel tanks.

Currently, our new tanks are being fabricated but we may not have time to install them until later this summer. Stay tuned for photos of the new tanks in the next post about the fuel tank install. We will also share the drawings we made for the tank design.
 At the fabrication shop
While working on the boat we took the occasional day off to enjoy our amazing town. We took our inflatable kayak and SUP out on the bay with views of Mount Baker, drove to the top of Mount Erie to enjoy the views of the surrounding islands and mountains, and hiked and biked some of our island's many trails.


Before we had to leave the boat we took a trip up to Whistler for my birthday. One of the things I miss about living in Germany are the "therme baths" or day spas. I found something very similar in Whistler and made that my birthday trip (we do trips instead of presents). And Mike got to go skiing.
 Packed up for our mini vacation
 Gondola to the top
 Whistler Blackcomb skiing
 The baths. 15 minutes hot in dry or steam sauna or hot pools; 10 seconds cold in cold pools and waterfalls; 20+ minutes relaxing in hammocks, solariums, or at the fireplaces. (No talking or cameras allowed near the baths so I had to take this through a window from above).
Want to see even more photos of our adventures? Check out our Photo Albums.
Comments