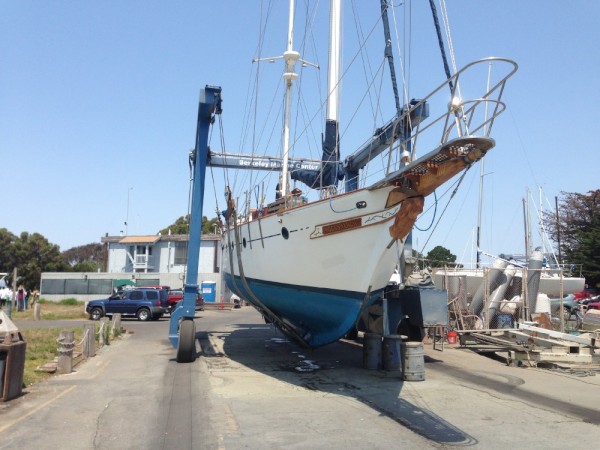
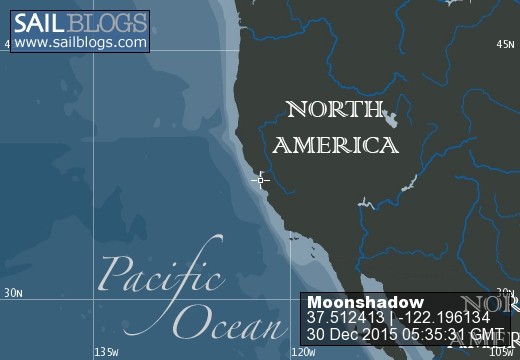
Moonshadow
1983 Hudson Force 50 Ketch
30 December 2015
12 March 2015 | SF Bay
07 December 2014 | SF Bay
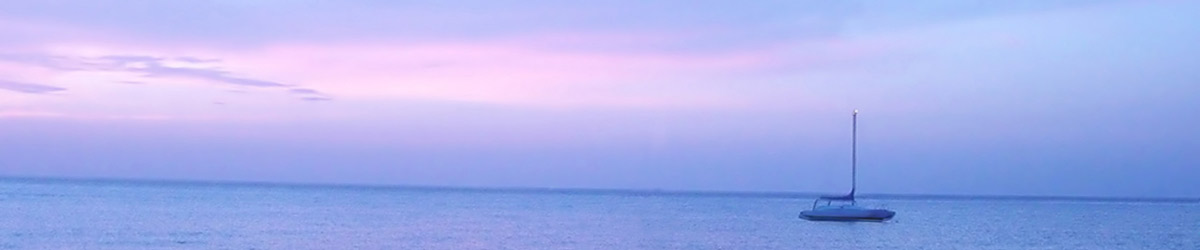
24 November 2014 | San Francisco Bay
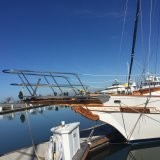
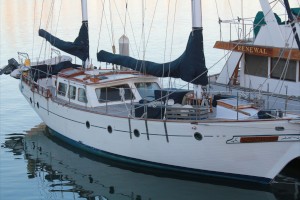
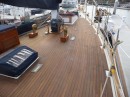
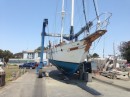
Rebuilding the Bowsprit
12 March 2015 | SF Bay
What started out as a simple project is starting to grow exponentially into a pretty complex undertaking. Our idea was simple enough. Let's widen the bow rollers so that we can carry a heavier anchor. By the time we got everything pulled apart it had evolved into refinishing the bowsprit, galvanizing the anchor , reconditioning the windless and let's not forget a little beauty treatment for the Little Mermaid that is MoonShadow's figurehead. But first things first. The bow rollers are only 2.5" wide. This was fine for the 45lb CQR that came with the boat but experience has taught us that we need something much more substantial to hold MoonShadow's full figure 58,000 lbs in position in a windy anchorage. I wanted to upgrade to a pair of 75lb CQR's plus a large Fortress as well for muddy bays. So the first task was to remove the rollers so that I could widen them to a more reasonable 4". Unfortunately this meant removing the 2 furling jibs, the 2 front stays, the stainless rail and the bowsprit platform. All this had to be done without the big stick accidently falling over . But I need not have worried . With all of the stays loosened the mainmast stood comfortably on it's keel mounted step.
Eventually all of the pieces were removed and it was time to break things down into their logical components.
-Bow Roller- I took the bow rollers off to the welder for some discussion. Originally I thought I would just widen the channel and add a pair of 4" rollers . But the sales clerk at my local West Marine advised me that replacing the bronze rollers with modern rubber roller was probably a step backwards strength-wise so we ended up adding some 3/4' marine board cheeks on each side to fill the gap. (See bowsprit photo album for more pictures).
-Teak Repair- The bowsprit and the teak platform needed quite a bit of repair. I priced out having a new teak grate made but it was just too expensive so I decided to repair and replace the broken pieces of my current teak platform. It is slow tedious work but strip by strip I'm getting the new pieces installed. I'm also using lots of epoxy to ensure that everything is well fastened.
-Windless Rebuild- The Ideal windless works well but I thought it deserved a little bit of servicing . The base was rusty so I ground everything down and repainted it with rustolem primer and new gloss enamel. The electrical wires were looking a bit frayed so I cut off a couple feet of exposed wiring and installed new end pieces that are exposed to the weather. I also plan to have the windless motor rebuild as it's been a few years
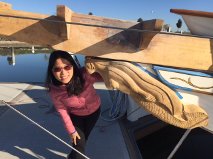
-Mermaid- Finally it was time to give our figurehead a little beauty treatment. Our little Mermaid received several coats of paint remover and a detailed sanding. We are currently thinking about adding some subtle color to the paint scheme as we re-finish her .Perhaps some green and blue to the tail and some blond streaks in the hair. Watch the photo gallery as the work progresses
Eventually all of the pieces were removed and it was time to break things down into their logical components.
-Bow Roller- I took the bow rollers off to the welder for some discussion. Originally I thought I would just widen the channel and add a pair of 4" rollers . But the sales clerk at my local West Marine advised me that replacing the bronze rollers with modern rubber roller was probably a step backwards strength-wise so we ended up adding some 3/4' marine board cheeks on each side to fill the gap. (See bowsprit photo album for more pictures).
-Teak Repair- The bowsprit and the teak platform needed quite a bit of repair. I priced out having a new teak grate made but it was just too expensive so I decided to repair and replace the broken pieces of my current teak platform. It is slow tedious work but strip by strip I'm getting the new pieces installed. I'm also using lots of epoxy to ensure that everything is well fastened.
-Windless Rebuild- The Ideal windless works well but I thought it deserved a little bit of servicing . The base was rusty so I ground everything down and repainted it with rustolem primer and new gloss enamel. The electrical wires were looking a bit frayed so I cut off a couple feet of exposed wiring and installed new end pieces that are exposed to the weather. I also plan to have the windless motor rebuild as it's been a few years
-Mermaid- Finally it was time to give our figurehead a little beauty treatment. Our little Mermaid received several coats of paint remover and a detailed sanding. We are currently thinking about adding some subtle color to the paint scheme as we re-finish her .Perhaps some green and blue to the tail and some blond streaks in the hair. Watch the photo gallery as the work progresses
Comments
| Vessel Name: | Moonshadow |
| Vessel Make/Model: | Hudson Force 50 |
| Hailing Port: | Marina del Rey, CA |
| Crew: | Dale and Wendy |
| About: | Dale- IT Industry Veteran Wendy- Yoga Instructor |
| Extra: | Getting Moonshadow ready for an extended blue water cruise |
Moonshadow's Photos - Main
 |
Pictures from the rebuild of MoonShadow's Bowsprit
15 Photos
Created 12 March 2015
|
 |
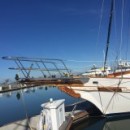
Pictures from the 2013 Americas Cup in San Francisco
16 Photos
Created 7 December 2014
|
 |
 |
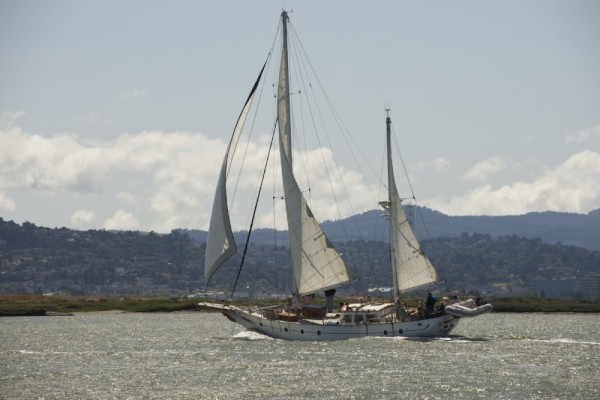 |
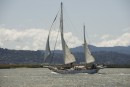
Various shots of Moonshadow sailing the California coast
6 Photos
Created 7 December 2014
|
S/V Moonshadow
Who: Dale and Wendy
Port: Marina del Rey, CA
Gallery
Favorites
No Links Added Yet
SailBlogs Friends
